User Auto-Provisioning
With SSO configured in the system, administrators can set up user groups for auto-provisioning to make user management easier and quicker. Once established, auto-provisioning allows for two things to occur upon an authenticated SAML user logging in to the application:
-
If the SAML user record exists, but that record does not exist in the application, a new record is created in the application.
-
If the SAML user record exists in the application, but the user’s record differs in the application, it is updated to match the SAML record.
With auto-provisioning, large numbers of existing SAML users can be created or updated within the application and given the necessary licenses to begin immediately working upon being authenticated.
Important things to note about auto-provisioning:
-
Auto-provisioning is only supported on SAML 2.0.
-
Auto-provisioning is only supported for users logging into one of the eGain consoles or the knowledge portal.
-
Auto-provisioning is only supported for department-level users.
-
Auto-provisioning allows for the use of custom attributes.
-
Roles, languages, user profiles, and guided help profiles, still need to be configured at the group level even with auto-provisioning enabled.
To configure auto-provisioning:
-
From the Partition and Departments dropdown menu, go to the partition space.
-
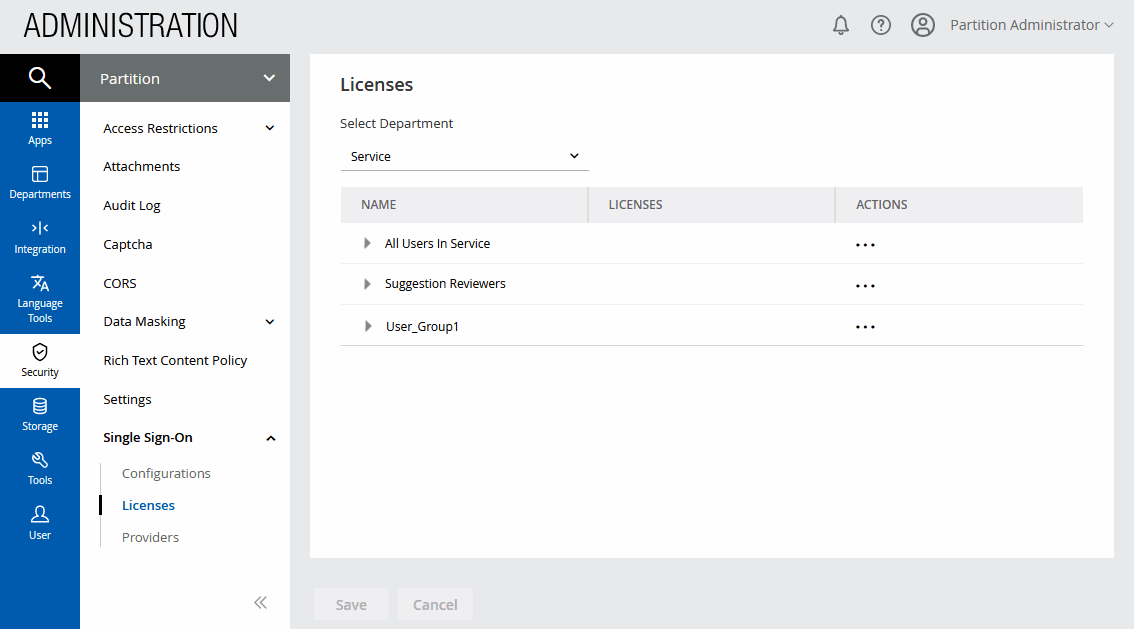
From the Navigation menu, browse to Security > Single Sign-On > Licenses.
-
On the List page toolbar, select a department from the dropdown.
-
Select user groups from the various departments in the partition.
-
From the list of Available licenses, select the desired licenses for that group. This maps user groups to licenses and allows the application to automatically assign licenses to users based on the groups in which they reside. Users of the groups selected here acquire the necessary licenses immediately upon being created or updated in the system when they are authenticated via SAML.
-
Click the Save button.
-
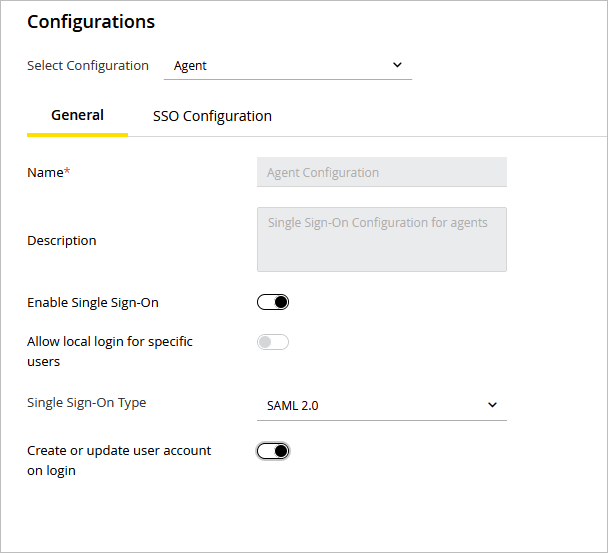
From the Navigation menu, browse to Security > Single Sign-On > Configurations.
-
On the Properties page, select Agent from the dropdown.
-
On the General tab for your SAML 2.0 configuration, in the Create/Update user account on login field, click the Toggle button to enable the filed. This field is disabled if your single sign-on configuration type is anything other than SAML 2.0. For more information about configuring agent single sign-on, see Configuring Single Sign-On for SAML 2.0 Systems.
-
Click the Save button.