Configuring the Links Bar
You can add links and link categories to your portal using the Links Bar settings.
To add links and categories:
-
In the Navigation Menu, browse to Publishing >Themes.
-
On the Themes page, navigate to the Custom Themes section and click the Edit button next to the theme you want to customize.
-
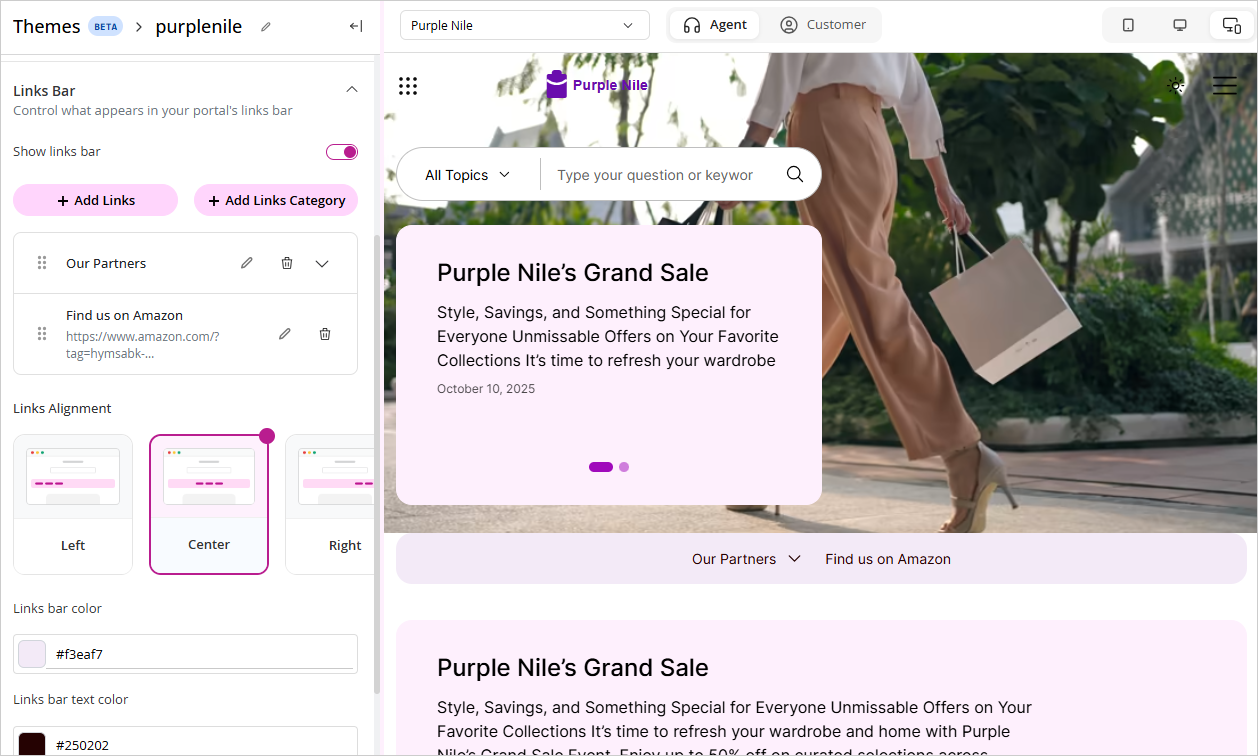
In the Themes workspace, navigate to Global > Links Bar and click the Expand button.
-
From the expanded menu, you can make the following changes:
-
Show links bar: Click the Toggle button to display the links bar in your portal. Enabling this setting, exposes the following options:
-
Show in all pages: Enable this setting to display the links bar on all pages of the portal.
-
Add Links: Click the Add Links button and provide a Link Name, the URL and the target (either Self or Blank)
-
Add Link Category: Clicking the Add Links Category button opens the Add Category modal, where you can provide a Category Name and then click the Add Link button to add several links to your category. You are then prompted to enter a sub link name, enter the URL and select whether the link will open in a new tab or in the same tab. You can also rearrange the links within a category or delete them as needed.
-
Click Done to save your changes.
-
-
Now, you can select the links alignment (Left, Center, Right or Justify), the Links bar color, and the Links bar text color.
-
-
Click Save.