Managing Labels
You can configure some of the labels and texts used on the portal through this setting. The changes that you make can be viewed simultaneously while making these changes.
To configure the labels used in the application:
-
In the Navigation Menu, browse to Publishing >Themes.
-
On the Themes page, navigate to the Custom Themes section and click the Edit button next to the theme you want to customize.
-
In the Themes workspace, navigate to Global > Manage Labels and click the Expand button.
-
Click the Add
 button next to Languages to select the language for which you want to edit the labels.
 -
Once the language is added, click the Edit
 button.
 -
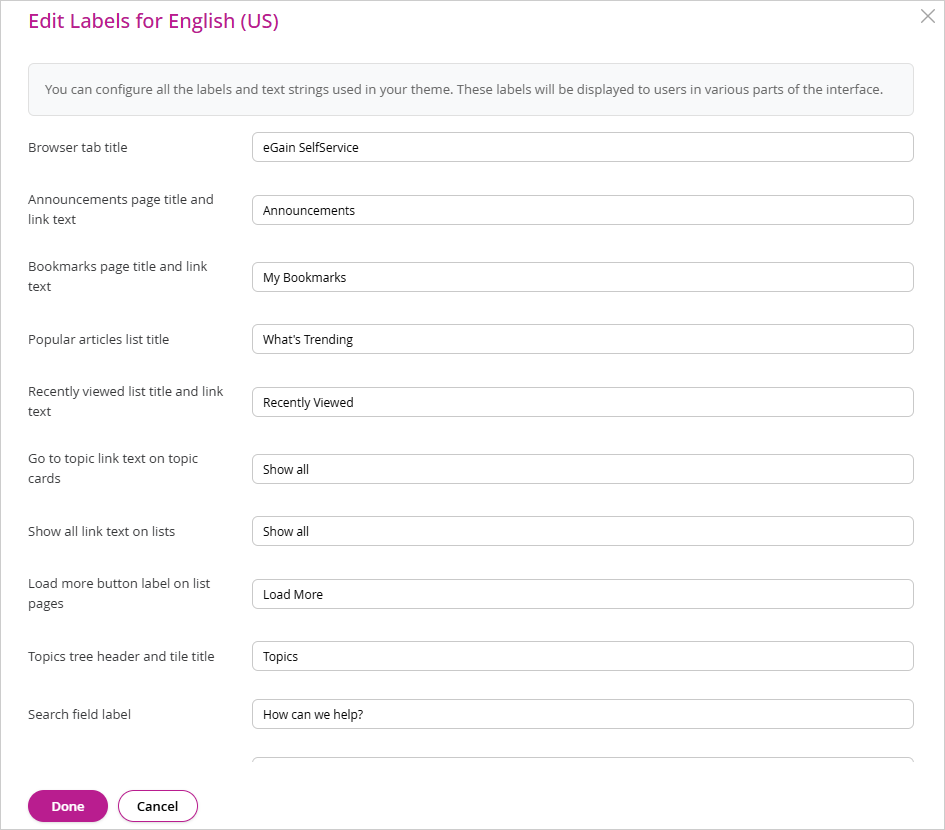
The 'Edit Labels for <Language>' modal opens and you can configure all the labels listed here which are displayed throughout the portal.
-
Once you have made your changes, click Done.
-
Click Save.