Configuring Alarm Node
Using this node, administrators can set up alarms if certain conditions are met, monitor some specific attributes of cases and activities, and send internal and external notifications if the conditions are met. For activity alarm rules, activities can be filtered based on a defined criteria. The filtered activities can then be further processed by the alarm workflow.
An alarm workflow can have only one alarm node and it should be the second node in the workflow that is the node following the start node.
To configure an alarm node:
-
On the Properties page, on the Diagram tab, add the Alarm
 node in the Workflow Editor.
 -
In the Alarm Rule Configuration window, provide the following details.
-
In the Name field, provide a name for the node.
-
On the Condition tab, configure the conditions under which the rule is true. Only the following objects are available in the alarm node - Activity and Case, and you can set conditions for only one object in one alarm node. Another important thing to note is that you cannot set conditions using only the “Count” and “Percentage” attributes. You must select another attributes with these two attributes to be able to save the node.
-
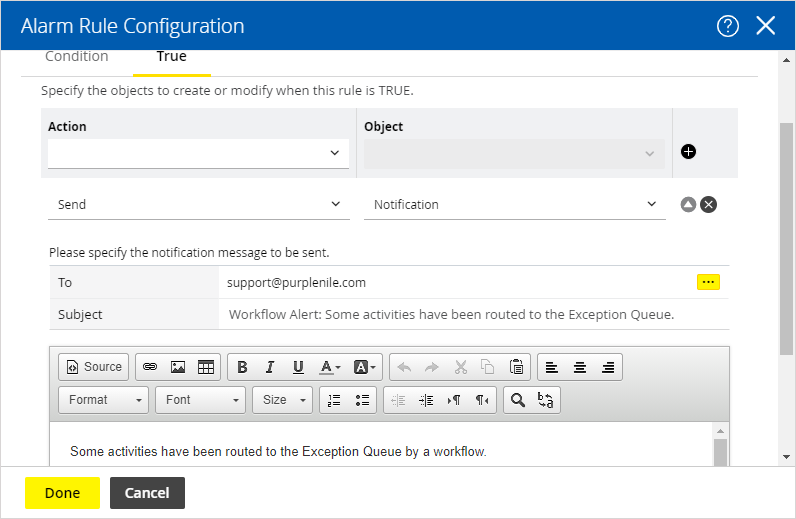
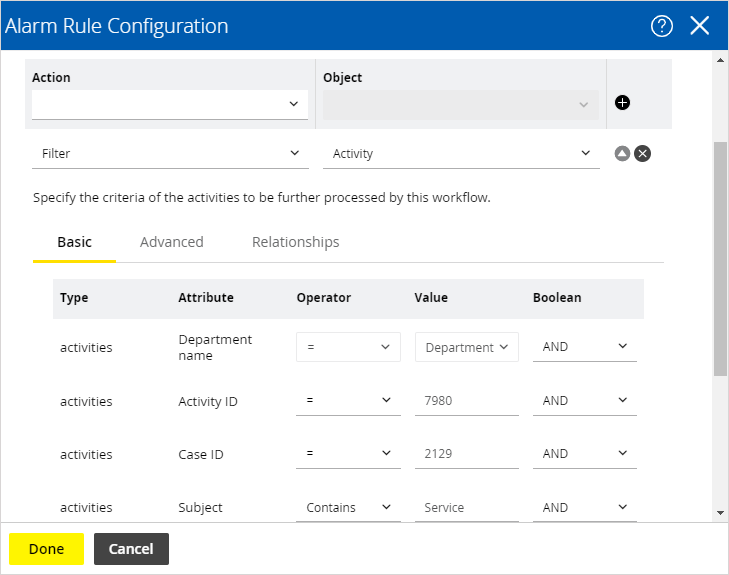
On the True tab, configure the action to be performed when the alarm conditions are met. You can do one of the following:
-
Send notifications to users: This option is available for both case and activity alarm rules. Set up internal messages or emails to be sent when an alert condition is met. Specify the following - the users to whom you want to send a message (you can send messages to internal user accounts or external email addresses.); the subject of the message; the content of the message.

-
Filter activities, based on a defined criteria. This option is available for activity alarm rules only. Set up the criteria of activities to be further processed by this workflow. Filters should be configured only in alarm workflows set up for users, user groups, and queues.

-
-
-
Click the Done button to close the window.
Related Topics