Creating AI Agents
AI Agents are deployed on websites or portals to provide instantaneous and personalized support for the customers.
Creating a New AI Agent
To create a new AI Agent:
-
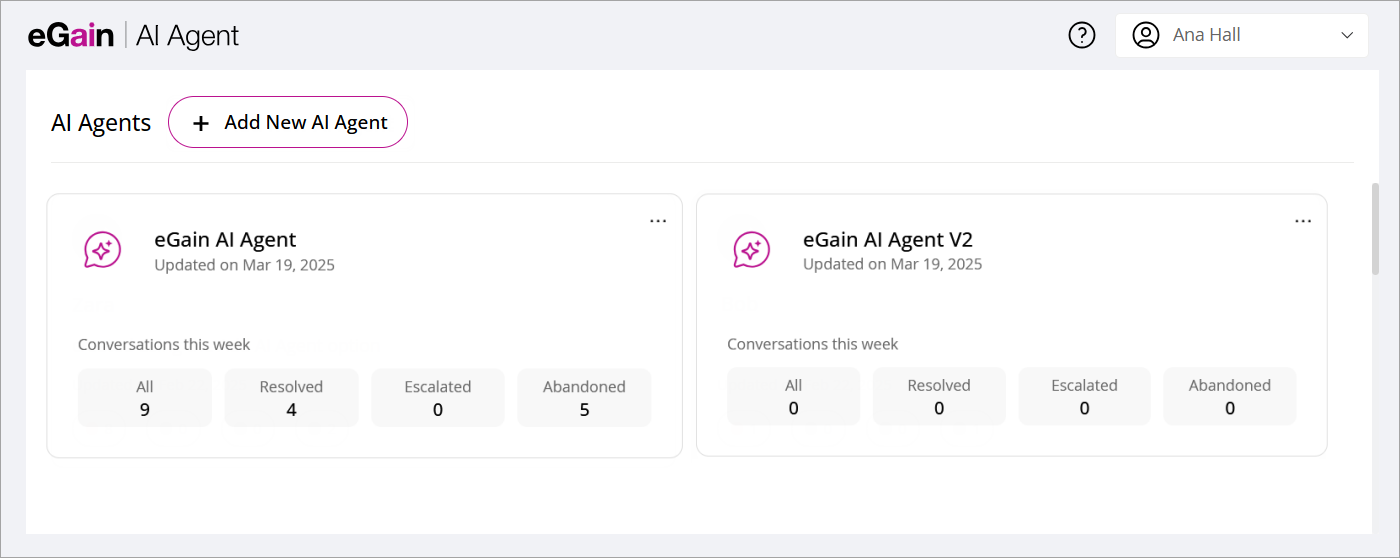
On the AI Agent list page, click the Add new AI Agent button.
-
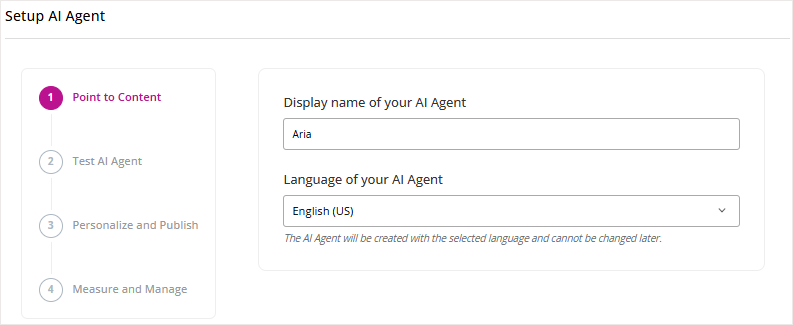
In the Setup AI Agent window that opens, provide a name for the AI Agent.
-
From the Language of your AI Agent dropdown, select a language in which the AI Agent will interact with the user. Please note that you cannot change the language once selected. You can select one of the following languages: English (US), Arabic, French, or Dutch. If the user has the Knowledge+Ai license, all available MLKB languages are displayed in the dropdown.
-
Next, provide the following details:
-
Point to Content: Provide details for the content sources for the AI Agent. For more details, see Configuring Data Sources.
-
Test AI Agent: Review and test the AI Agent. For more details, see Testing AI Agent.
-
Personalize and Publish: Modify and refine different aspects of the AI Agent. For more details, see Personalizing AI Agent.
-
Measure and Manage: Review different metrics to analyze the AI Agent's performance. For more details, see Analytics and Metrics.
-
- Click the Finish Setup button.
- You are now directed to the Integrate Channel section, where you can integrate your AI Agent with eGain Conversation hub and escalate AI Agent chats to your live agents. For more information see, Integrating AI Agent with eGain Conversation Hub.