Creating Tags
The process of creating the metadata necessary for an organized and efficient knowledge base begins with the creation of tags. Administrators can create tag categories, tag groups, and tags, each of which are used in tagging articles and creating the necessary user profiles and publish views. For more information see User Profiles and Publish Views.
Tag Categories
Article metadata may be defined using multiple tag categories. Each tag category typically describes a separate property of the content (e.g. locations to which it applies), or defines an entitlement required before viewing the content (e.g. has appropriate training, is an internal user, etc.).
Article metadata may also contain more than one attribute per tag category (e.g. the content applies to three out of seven locations). If there are multiple tag categories defined for restriction or filtering of content, then there must be overlap in each tag category specified in order to view the content.
For example, if the article is restricted to call center agents and supervisors (category 1: team) in Germany and Austria (category 2: location) then:
-
It can be seen by a call center agent in Germany (matches on both location and team).
-
It cannot be seen by a customer in Germany (no match on team).
-
It cannot be seen by a supervisor in Mexico (no match on location).
To create a tag category:
-
From the Partition and Departments dropdown menu, select a department.
-
From the Navigation menu, browse to Personalization > Tag Categories.
-
On the List page toolbar, click the New
 button.
 -
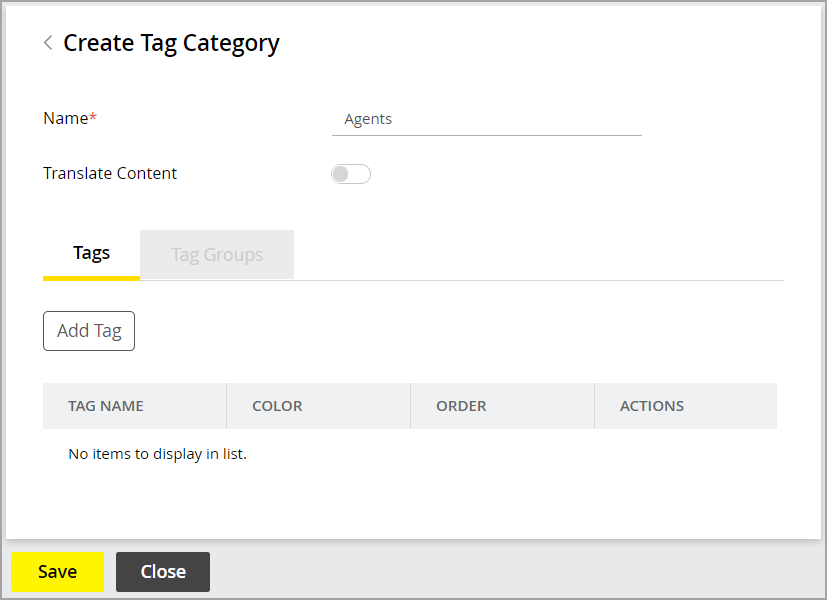
On the Properties page, set the following:
-
Name: Provide the name for the tag category. The name cannot be longer than 100 characters.
-
Translate Content: Select Yes if you want this category and the tags contained within to be considered for translation when the content is exported for translation.

-
-
Click the Save button.
Tags
Once a tag category has been made, tags can be created for the category. Tags essentially control the accessibility of an article and are at the root of every personalization capability. Once a tag is created, it is added to the list of tags contained within the category. Organizing the tags further requires the use of tag groups.
To create a tag:
-
From the Partition and Departments dropdown menu, select a department.
-
From the Navigation menu, browse to Personalization > Tag Categories.
-
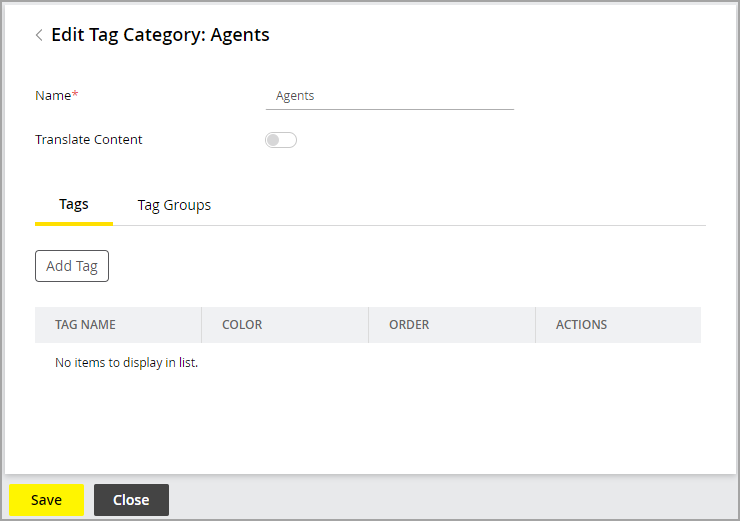
On the List page, select a tag category.
-
On the Properties page, on the Tags tab, click the Add Tag button.

-
In the Create Tag window, provide the following:
-
Tag Name: Provide the name of the tag. This cannot be longer than 100 characters.
-
Color: Click the field and select a color from the palette. Colors help authors identify tagged content in articles during article creation. If the tag is only meant to apply to entire articles and not specific sections of articles, no color is necessary.
-
-
Click the Done button to add it to the list of tags for this category.
-
Use the Order column to control and rearrange the order of tags for this category.
-
Click the Save button.
Tag Groups
Tag groups are not necessary for a tag category to function, they are used as an organizational resource. Tag groups have the advantage of being a fast and convenient way of assigning tags to user profiles, publish views, and articles. Tag groups can also contain other tag groups, and tag groups within those.
To create a tag group:
-
From the Partition and Departments dropdown menu, select a department.
-
From the Navigation menu, browse to Personalization > Tag Categories.
-
On the List page, select a tag category.
-
On the Properties page, on the Tag Groups tab, click the New
 button.
 -
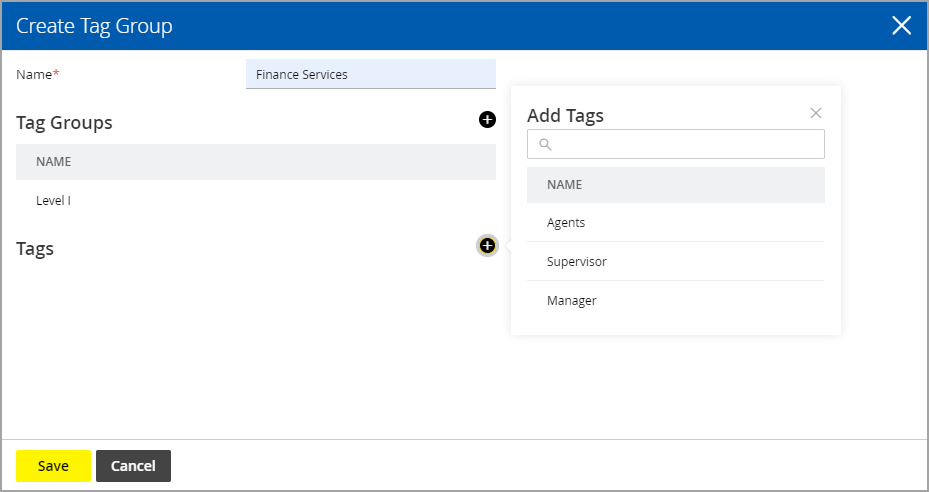
In the Create Tag Group window, provide a Name for the tag group.
-
In the Tag Groups section, click the Add
 button to select and add tag groups within the tag group.
 -
In the Tags section, click the Add
 button to select and add tags within the tag group.
-
Click the Save button.
Related Topics