Adding Custom Buttons
Before adding the buttons to the Information section toolbar, you need to first create the buttons and add them to the custom folder on the file server. Create the necessary icon images for buttons before adding them to the toolbar. The image should be:
-
16 x 16 pixels
-
72 DPI resolution
-
Saved as a GIF file (.gif) or a PNG file (.png)
To add a custom button:
-
From the Partition and Departments dropdown menu, go to the partition space.
-
From the Navigation menu, browse to Tools > Screen Toolbar.
-
On the List page toolbar, click the New
 button.
A maximum of 25 custom buttons can be created in a partition.
-
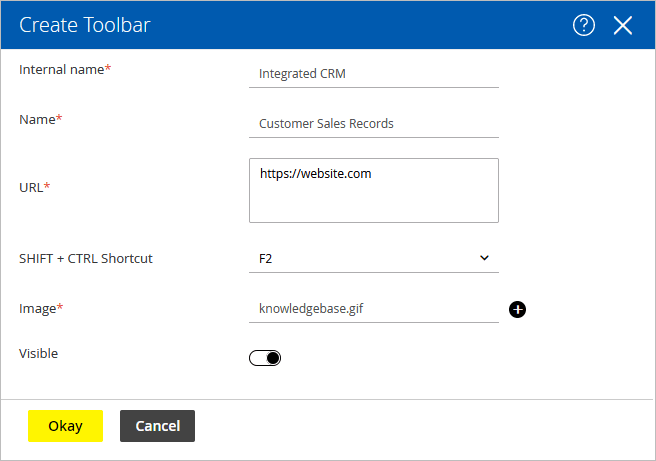
In the Create Toolbar window, provide the following:
-
Internal name: Type the internal name of the button. The internal name cannot have only digits.
-
Name: Type the name of the button as it should appear in the Advisor Desktop.
-
URL: Type the URL of the self-service portal or the website that you want to access using this button. You can give the URL of a website such as http://www.company.com.
-
SHIFT+CTRL shortcut: Select a shortcut key for the button from the dropdown list.
-
Image: Click the Add
 button. Select the image you want to use for the button from the list of available images.
 -
Visible: Click the Toggle button to make the button visible in the Information pane, in the Advisor Desktop.

-
-
Click Okay.
Related Topics