Creating User Groups in Departments
To create a group of department users:
-
Log in to the Administration Console as the Partition Administrator.
-
From the Partition and Departments dropdown menu, go to a department.
-
In the Navigation menu, browse to Users > User Groups.
-
On the List page toolbar, click the New
 button.
 -
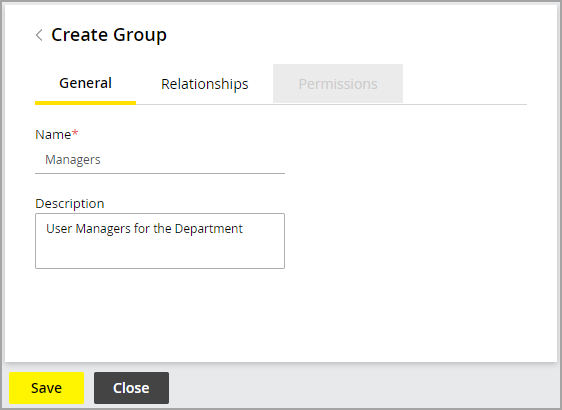
On the Properties page, on the General tab, provide the Name and Description for the user group.
-
In the Relationships tab, do the following:
-
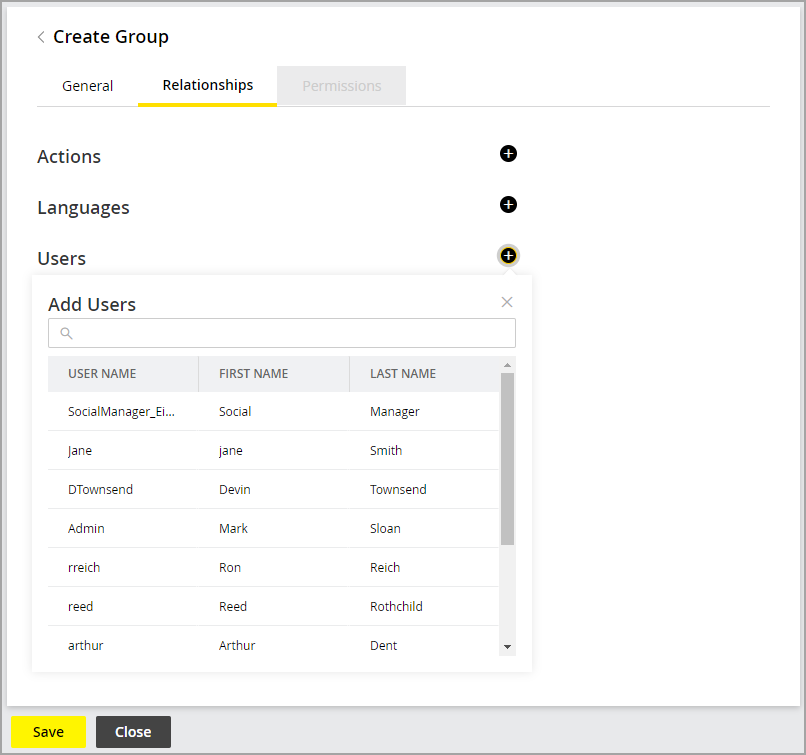
In the Users section, click the Add
 button and select the users who should be part of this user group.
-
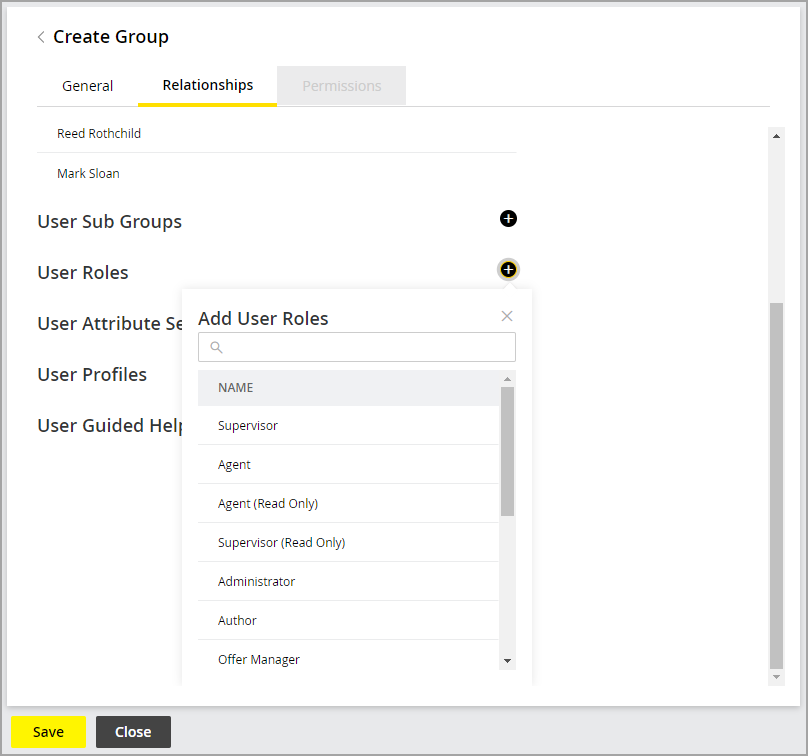
In the User Roles section, click the Add
 button and select roles for the user group. If you want to view the actions that come as part of the selected role, save the user group and go to the Actions section to see the list of actions.
-
In the Languages section, click the Add
 button and select the desired language.
 -
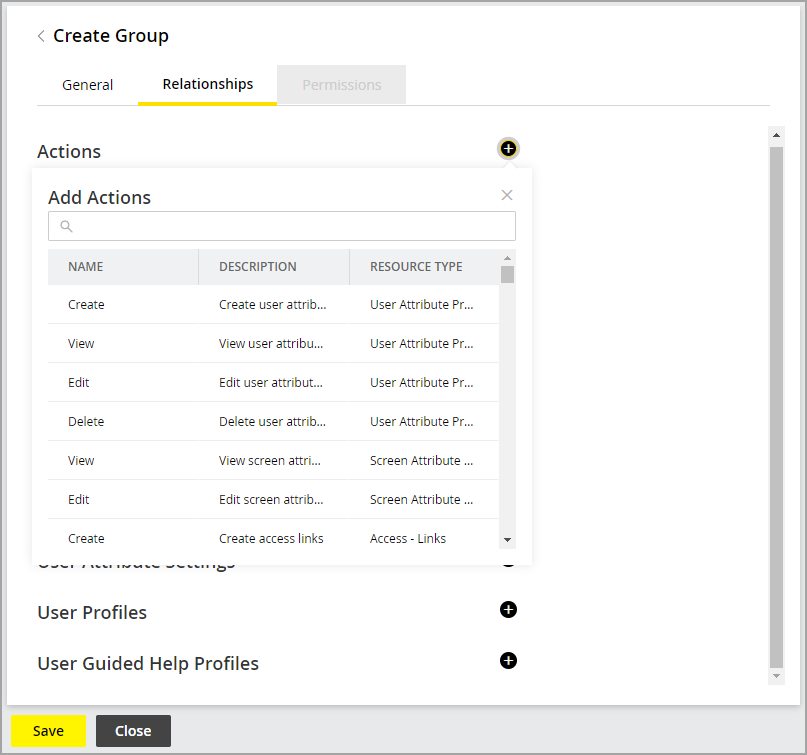
Next, go to the Actions section, and view the list of actions assigned to the user group. Here you can also assign additional actions to the user group by clicking the Add
 button. It is highly recommended that you do not assign actions directly to user groups. You should always create a user role, with the actions, and assign the role to the user. This makes user management easier. For more details on creating user roles, see Creating User Roles.
-
-
-
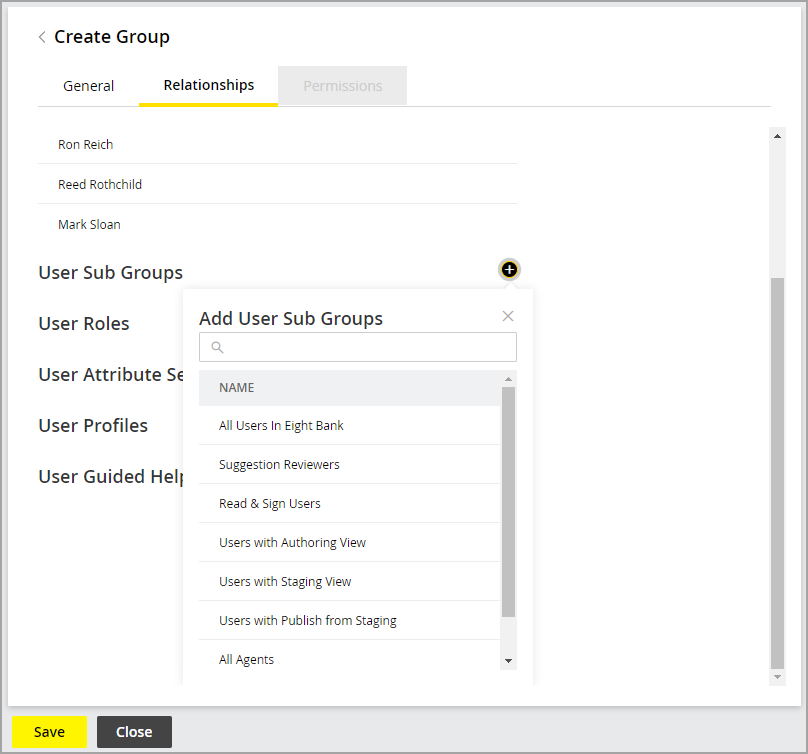
Next, go to the User Sub Groups section and click the Add
 button and select subgroups for the group. For more details on subgroups, see Creating User Subgroups.
-
In the User Attribute Settings tab, click the Add
 button to select a user attribute setting for the group. This lets you control the level of access a user has in the system. For more details on user attribute settings, see About User Attribute Settings.
 -
Next, in the User Profiles section, click the Add
 button to select the profile to be assigned to the user. For more details, see User Profiles.
 -
Lastly, in the User Guided Help Profiles section you can select which search profiles this group can use by clicking the Add
 button.
-
-
Click the Save button to enable the various options in the Permissions tab.
-
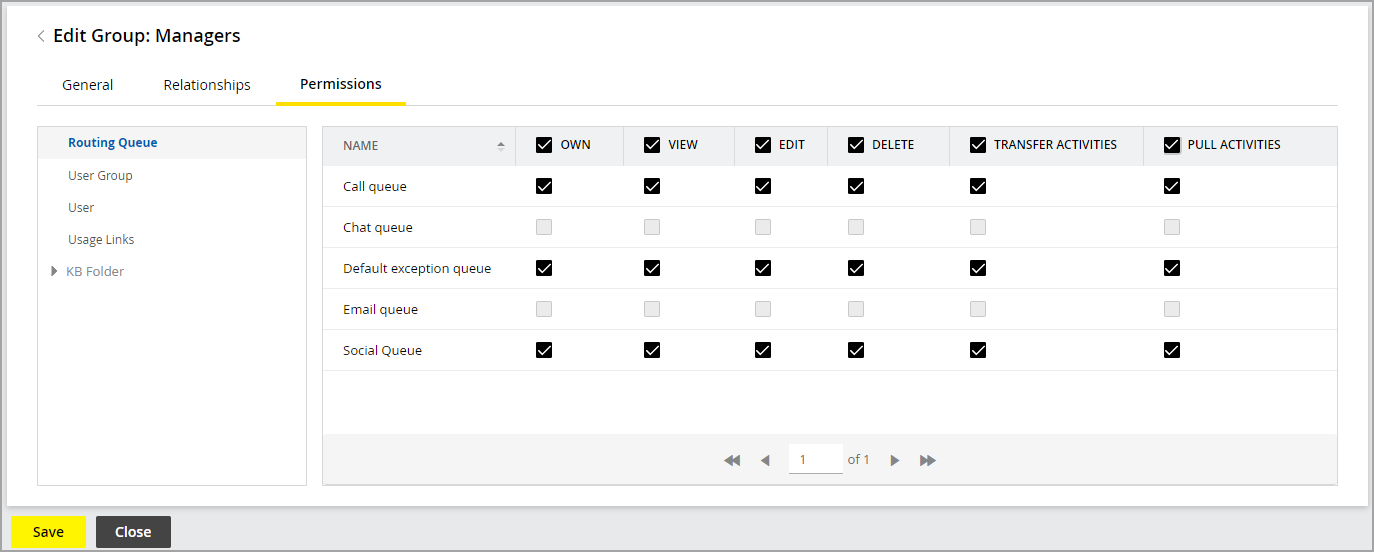
On the Permissions tab, assign permissions for the following objects:
-
KB Folder: Own folder, View folder, Edit folder, Delete folder, Create folder, Create article, Edit article, Delete article, Suggest article, Manage Suggestions
-
Routing Queue: Own, View, Edit, Delete, Transfer Activities, Pull Activities
-
Usage - Links: Own, View, Edit, Delete, Execute
-
User: Own, View, Edit, Delete
-
User group: Own, View, Edit, Delete, Own User, View User, Edit User, Delete User
-
-
Click the Save button.
Related Topics