Creating AI Agents
AI Agents are deployed on websites or portals to provide instantaneous and personalized support for the customers.
Creating a New AI Agent
To create a new AI Agent:
-
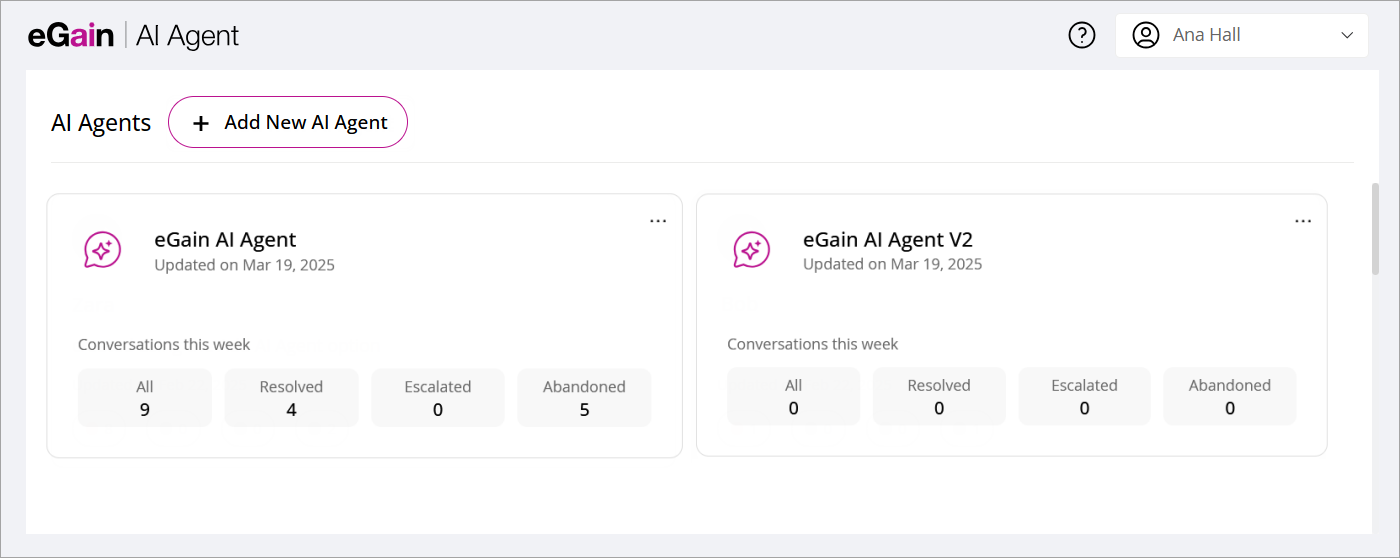
On the AI Agent list page, click the Add new AI Agent button.
-
In the Setup AI Agent window that opens, provide a name for the AI Agent.
-
From the Language of your AI Agent dropdown, select a language in which the AI Agent will interact with the user. Please note that you cannot change the language once selected. You can select one of the following languages: English (US), Arabic, French, or Dutch. If the user has the Knowledge+Ai license, all available MLKB languages are displayed in the dropdown.
-
Next, provide the following details:
-
Point to Content: Provide details for the content sources and train the AI Agent using these sources and by uploading transcripts. For more details, see Configuring Data Sources and Training your AI Agent.
-
Test AI Agent: Review and test the AI Agent. For more details, see Testing AI Agent.
-
Personalize and Publish: Modify and refine different aspects of the AI Agent. For more details, see Personalizing AI Agent.
-
Measure and Manage: Review different metrics to analyze the AI Agent's performance. For more details, see Analytics and Metrics.
-
- Click the Finish Setup button.
- You are now directed to the Integrate Channel section, where you can integrate your AI Agent with Genesys. For more information, see Integrating the AI Agent with Genesys.